Classic Napoleon Cake Recipe | Layered Custard Pastry Cake
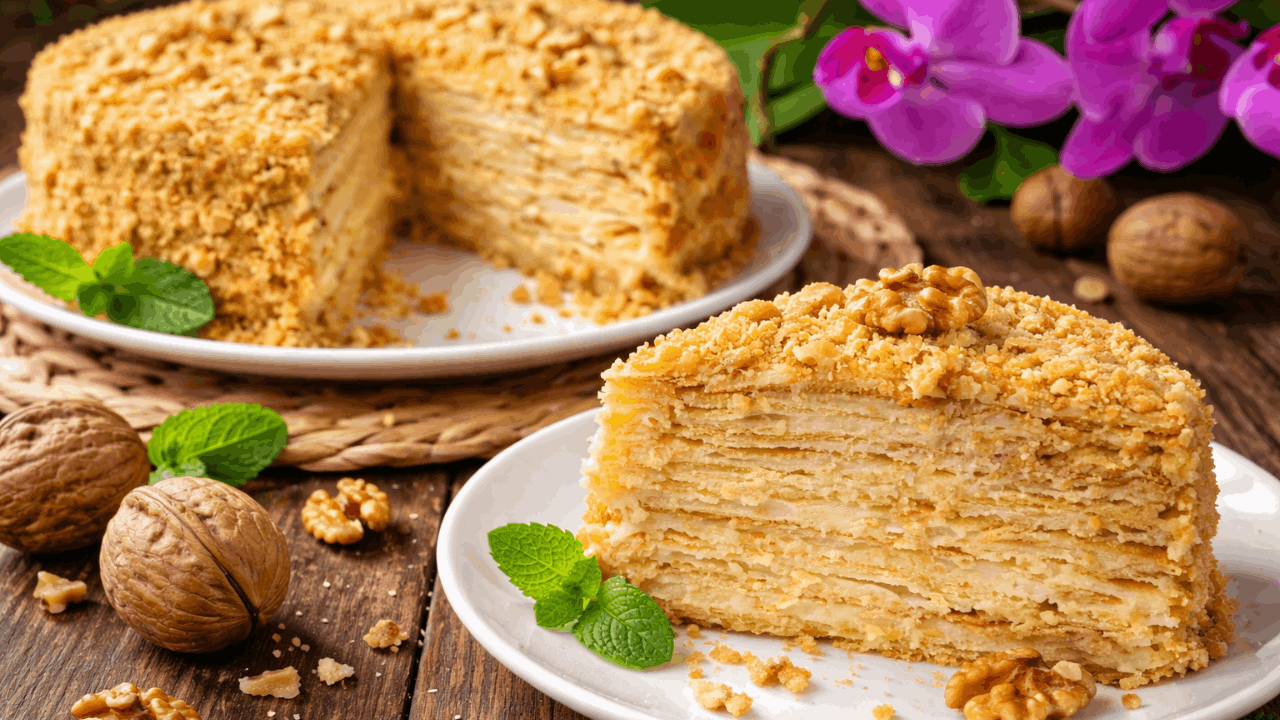
The Napoleon Cake is one of the most beloved layered desserts in Eastern European kitchens. With its many delicate pastry layers and rich custard cream, it’s a cake that feels both elegant and comforting. Each bite is incredibly soft, creamy, and slightly crisp on top.
This dessert is closely related to the famous French Mille-feuille, but the Napoleon version usually contains more layers and is soaked with a generous amount of cream, making it wonderfully tender and melt-in-your-mouth delicious.
Although this cake looks impressive, the process is quite simple if you follow the steps carefully. In this recipe, we’ll prepare thin pastry layers, a silky custard cream, and assemble everything into a beautiful cake that becomes even better after resting overnight.
🛒 Ingredients
For the Custard Cream:
➤ 4¼ cups (34 fl oz / 1 liter) milk
➤ 1½ cups (12.4 oz / 350 g) sugar
➤ 3 tbsp all-purpose flour, well-heaped (3 oz / 85 g)
➤ 7 oz (200 g) butter
For the Dough:
➤ 4 cups (21 oz / 600 g) all-purpose flour
➤ 1.1 lb (500 g) margarine, softened
➤ 1¼ cups (10.5 oz / 300 g) sour cream (at least 20% fat)
➤ 1 tsp baking soda + 1 tsp vinegar (or 2 tsp baking powder)
For Decoration:
➤ Baked pastry crumbs (from dough scraps)
➤ Optional: crushed walnuts for topping
🥣 Equipment
➤ Mixing bowls
➤ Saucepan
➤ Whisk
➤ Spatula
➤ Rolling pin
➤ Baking sheets
👩🍳 Instructions
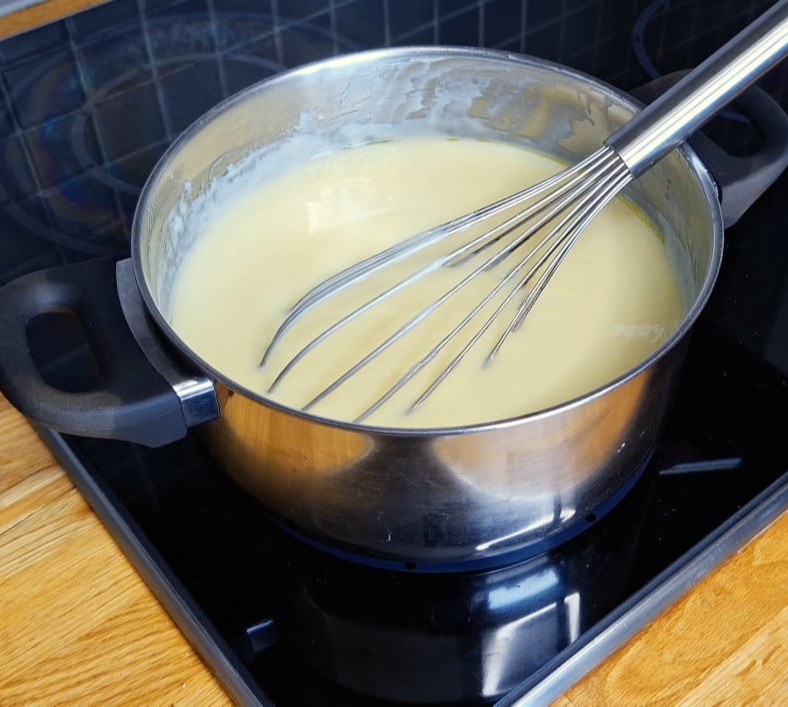
1. Prepare the Custard Cream
Start with the custard cream because it needs time to cool completely before assembling the cake.
➤ Pour 1 liter of milk into a saucepan and place it over medium heat.
➤ Immediately add 1½ cups (350 g) sugar and begin stirring gently.
➤ Next, whisk in 3 heaping tablespoons of flour.
➤ Continue cooking the mixture over medium heat. Cook until the mixture thickens into a smooth custard.
➤ Once the cream becomes thick, remove the saucepan from the heat and add the 7 oz (200 g) butter butter. Stir until the butter melts completely and the cream becomes smooth and silky.
➤ To prevent a skin from forming, cover the cream with plastic wrap directly touching the surface.
➤ Set the custard aside and allow it to cool completely.
💡Important:
Constant stirring is the golden rule for custard. It prevents lumps and stops the cream from burning on the bottom of the pan.
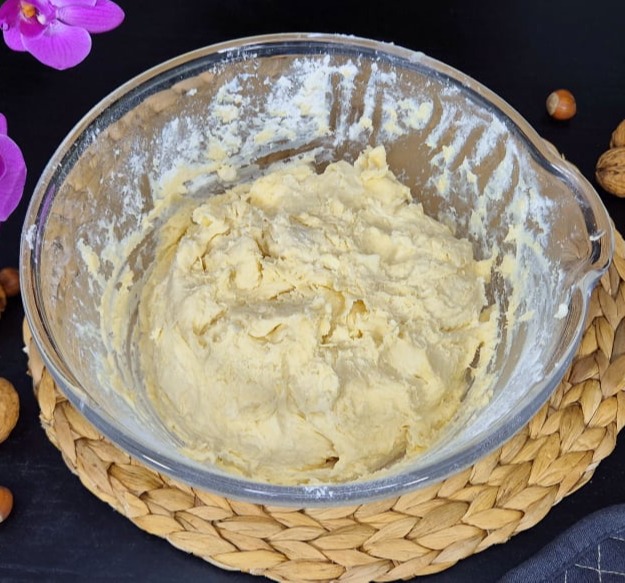
2. Prepare the Dough
➤ In a large bowl, sift 4 cups (600 g) flour.
✨ Sifting flour aerates it, helping create lighter and more delicate cake layers.
➤ Add 1.1 lb (500 g) softened margarine cut into small cubes.
➤ Rub the margarine into the flour with your hands until the mixture resembles coarse crumbs.
➤ Next, add 1¼ cups sour cream sour cream.
💡 For the best texture, use sour cream with at least 20% fat content. This helps create a soft, elastic dough.
➤ Neutralize 1 teaspoon of baking soda with a little vinegar and add it to the mixture.
(👉You can replace this with 2 teaspoons of baking powder.)
➤ Mix the dough first with a spatula, then knead it gently with your hands until it becomes smooth and elastic.
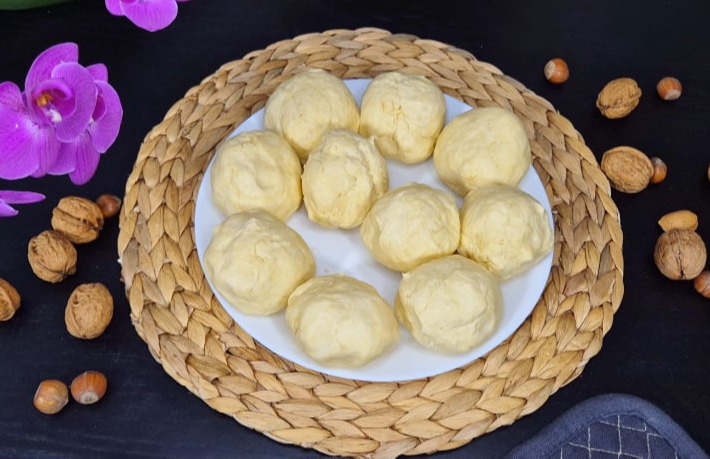
3. Chill the Dough
➤ Divide the dough into 10 equal portions and roll each piece into a ball.
➤ Place the dough balls in the refrigerator for 1 hour.
💡 Tip:
Chilling the dough makes it much easier to roll out thin layers without sticking or shrinking.
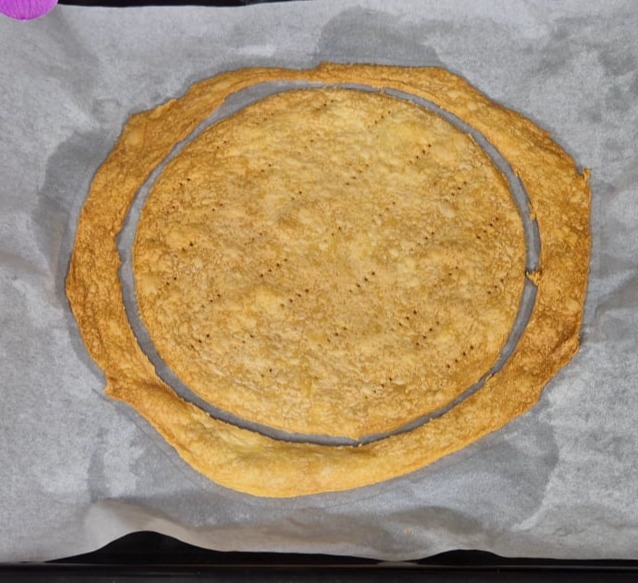
4. Roll and Bake the Layers
➤ Preheat your oven to 400°F (200°C).
➤ Roll each dough ball into a very thin circle.
➤ To make the layers perfectly even, place a plate on top and cut around it to form a neat circle.
💡 Important Tip:
Do not remove the extra dough scraps around the circle. Leave them on the baking sheet and bake them together with the layer. These baked scraps will later be used to decorate the cake.
➤ Before baking, prick the pastry layer all over with a fork.
This prevents the dough from puffing up too much during baking.
➤ Bake each layer for about 7 minutes, until it becomes lightly golden.
➤ Allow the layers to cool completely.
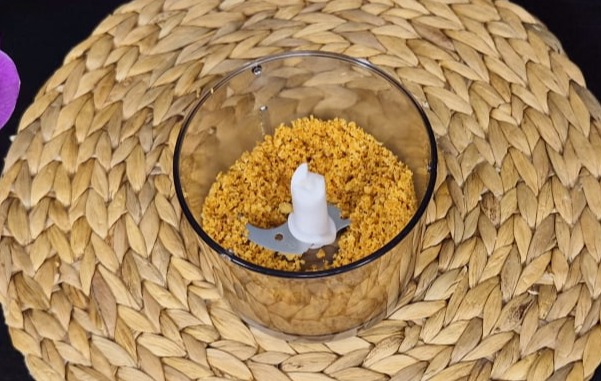
5. Prepare the Crumb Topping
➤ Take the baked dough scraps and crush them into crumbs.
You can do this by hand, but using a blender or food processor makes the process much faster.
➤ Blend until you get fine pastry crumbs. These crumbs will be used to coat the cake.
6. Assemble the Cake
➤ Place the first pastry layer on your serving plate.
➤ Spread a generous layer of custard cream over it.
➤ Add the second layer and repeat the process.
➤Continue stacking layers and spreading cream until all 10 layers are assembled.
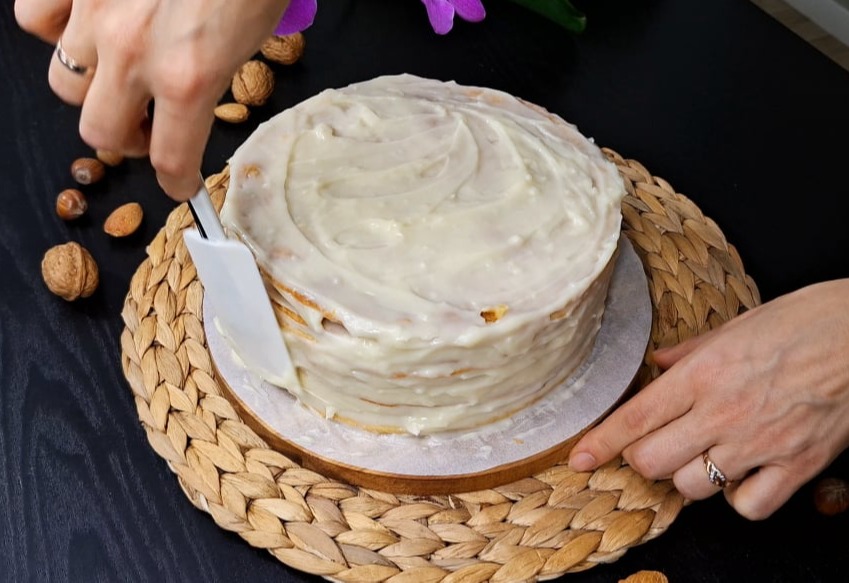
➤ Once all layers are stacked, spread the remaining cream over the top and sides of the cake.
💡 Tip:
Don’t be shy with the cream. The layers absorb the custard as the cake rests, which creates the signature soft Napoleon texture.
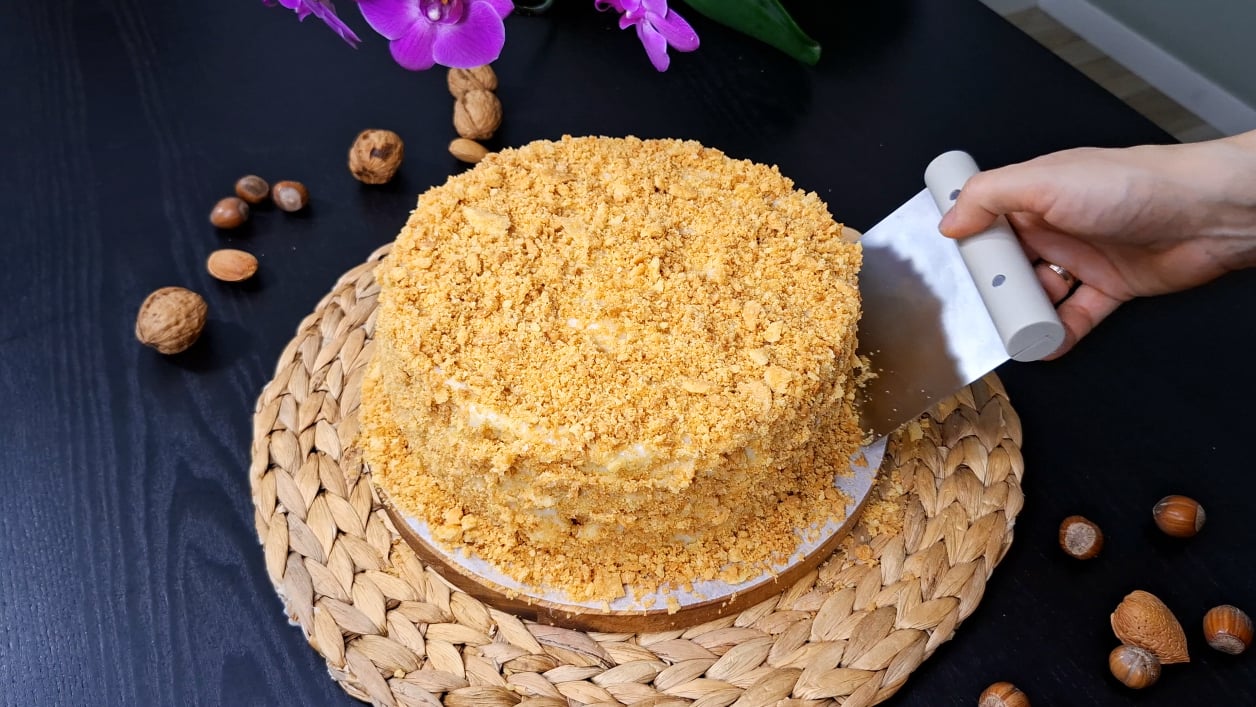
7. Decorate the Cake
➤ Take the prepared pastry crumbs and coat the entire cake. Cover the top and sides evenly with crumbs.
➤ For an extra special touch, sprinkle crushed walnuts on top. This adds a pleasant nutty flavor and a bit of crunch that pairs beautifully with the soft layers.
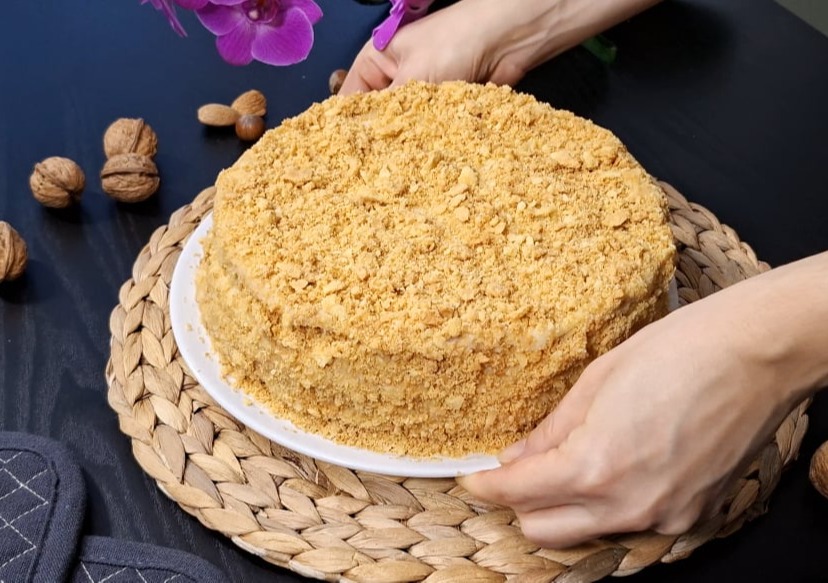
8. Let the Cake Rest
➤ Although the cake already looks ready, Napoleon Cake needs time to fully develop its texture.
➤ Place it in the refrigerator overnight.
➤ During this time, the layers absorb the cream and become incredibly soft and delicate.
💡Important:
This resting step is essential. Without it, the layers will remain too crisp instead of melt-in-your-mouth tender.
Serving
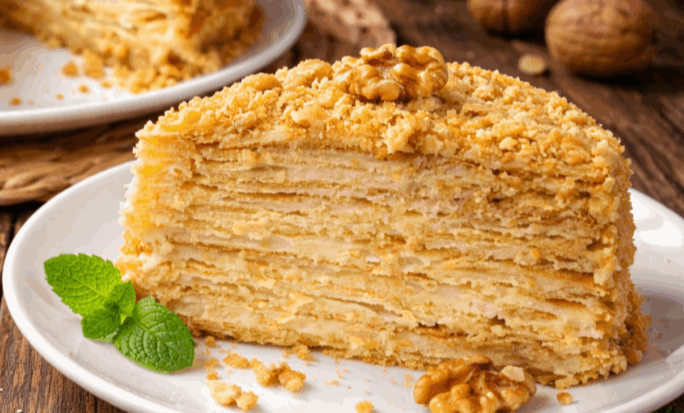
When ready to serve, slice the cake with a sharp knife.
You’ll see beautiful thin layers soaked with creamy custard. The texture should be soft, delicate, and incredibly satisfying.
Napoleon Cake pairs perfectly with:
➤ hot tea
➤ coffee
➤ cappuccino
This cake actually tastes even better the next day, so it’s a perfect dessert to prepare in advance for holidays, birthdays, or special gatherings.
Enjoy your homemade Napoleon Cake!

No Code Website Builder